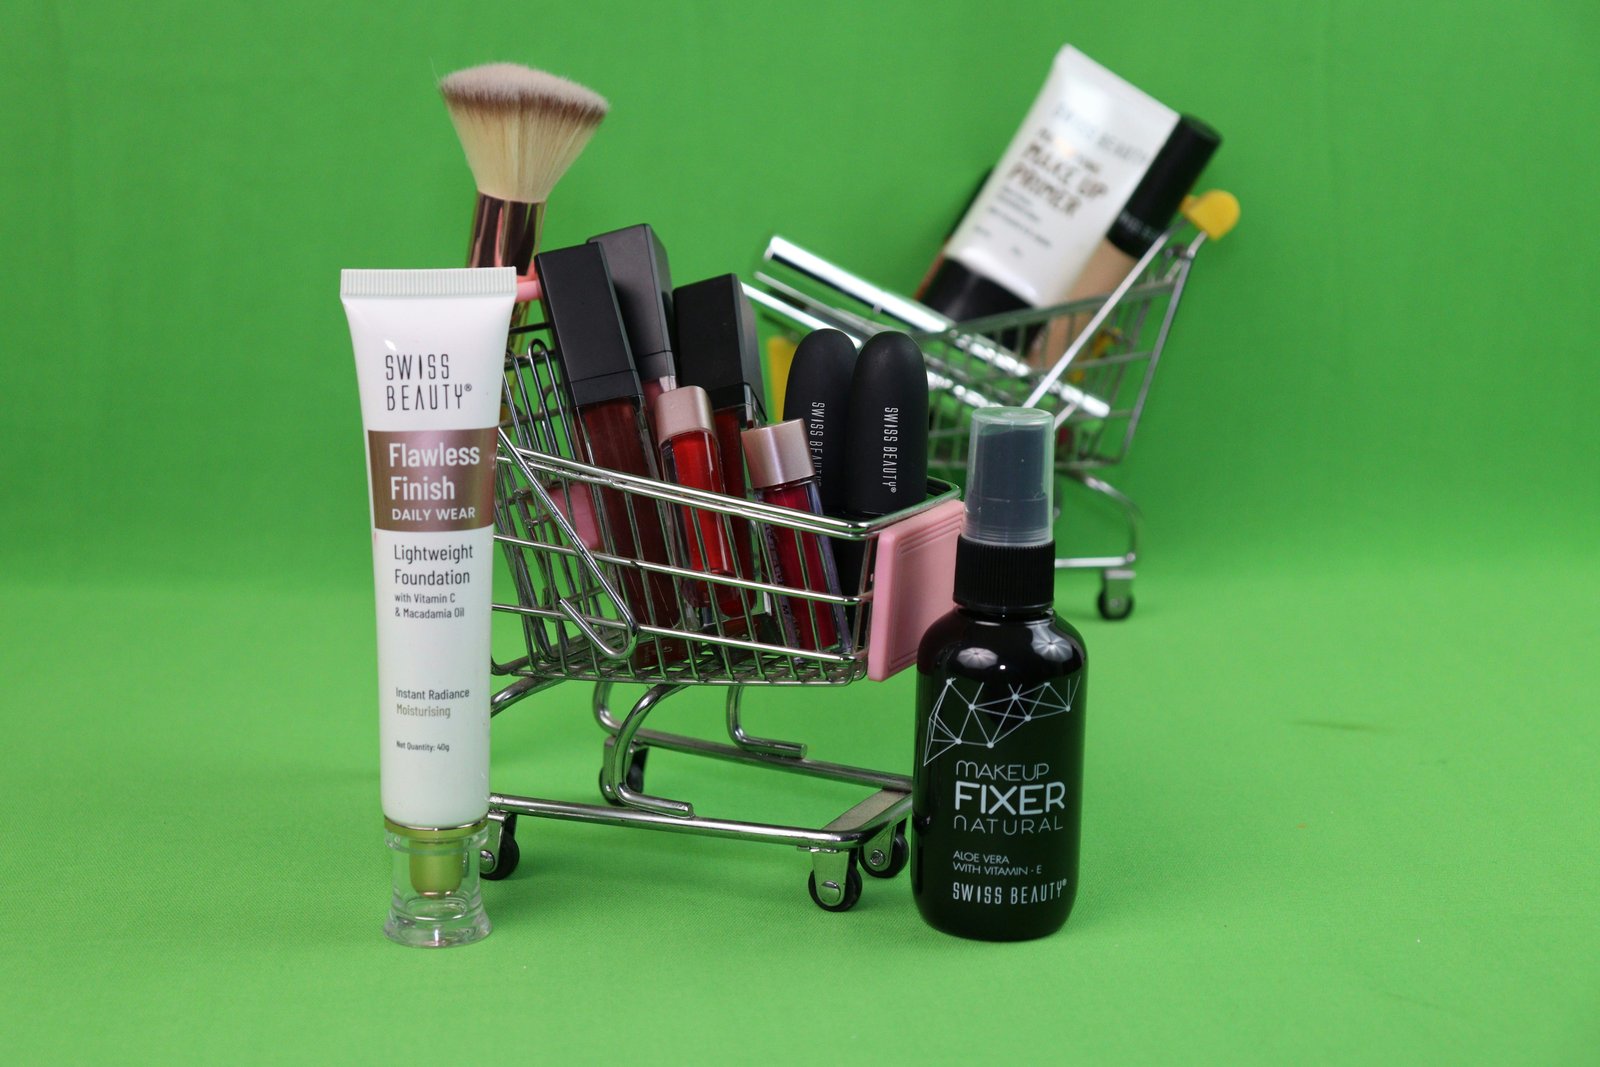
Product photos are very important because they are the first thing customers notice and even though they cannot touch or try the product before buying it. Based on these images customers decide whether I buy that product or not.
Thus, high quality photos are the best way to present our products to the customer and build trust. And poor quality images will damage the confidence of customers and decrease sales and conversion rates.
However, you do not have to invest in a professional studio to achieve high quality images. Knowing how to use your phone camera can be sufficient. In today's article, I collected a bunch of product photography tips for you, which will help you take higher-quality images to sell your products in 2026.
Why Product Photography Impacts Your Sales
The product photos affect how customers see your online store and products. Since the customers rely on images to understand what they are buying this means that good product photos help customers clearly understand the quality of the product.
Photos of the product also enhance trust on the part of the buyer. The buyer feels secure about buying from you if the product is visible to him from all the possible angles. However, if the photos are blurred or of bad quality, the buyer starts feeling distrustful.
Another reason why product photography is important is that poor quality photos give more chances to return the product. If you show images on your website that are different from the actual product then customers may be disappointed and unsatisfied.
One more thing, the customer decides to buy a product within a few seconds by just looking at photos. Good product photography builds their trust in the product and the seller and they make purchases with confidence.
Tip 1-3: Master Your Lighting Setup
Now lighting is an incredibly vital portion of photographing an item. Though you may own the world's best camera on the market, if the lighting is lacking you will never be able to achieve professional quality photos. The right lighting helps accurately highlight an item's color and overall quality.
Lighting Tip 1: Natural Lighting
Day light is great for any level of photographer. Beginners and experts alike can find the beauty in natural light. When using natural light, it is best to take the pictures of products near a big window in order to get rid of the need for additional and expensive equipment. But, the direct rays of sunlight should be avoided here.
Lighting Tip 2: Avoid Shadows
When you do use shadows they can appear unprofessionally to an extent, as some parts of the products get masked. You can minimize shadows using white boards and reflectors which bounces back light and hence lights up product. In case you're shooting indoors or using studio lighting, softboxes and diffusers will help you in making the light softer and eliminating shadows.
Lighting Tip 3: Consistency
The consistency in the field of photography is crucial if one wants to represent many products on their website. Thus, it is of paramount importance to make sure that all product pictures are of the same quality, and appeal to the same customer segment.
Tip 4-5: Get Your Camera Settings Right
Although you may just be starting out, you must learn the basic camera settings in order to take excellent product photos. Some of the very same camera settings can change the face of your images. Below are some useful product photography tips for both beginners and professionals to capture better product photos.
Tip 4: Pay Attention to Focus and Resolution
High resolution is an essential element that makes it possible to create high-quality shots. Avoid creating hazy and unclear images since, when it comes to e-commerce, the customer should be able to zoom in and take a closer look at the offered goods when making a purchase decision. Therefore, unless you are limited in any way, make sure that you utilize the camera or a phone's built-in hardware to capture shots in the best quality. Additionally, when using a device with superior camera quality, make sure to set the aperture correctly so that the captured subject stays clear and well-defined. After all, you want your customers to be able to see all of the goods' details with the naked eye.
Tip 5: Use a Tripod for Sharp Images
Using a tripod is the best way to take sharp and clear product photos. It helps reduce blurry images caused by camera movement. If you are photographing many products, a tripod helps you keep the same camera angle in every shot. You can also take excellent product photos with a smartphone if it has a good camera. Just use proper lighting and keep your phone stable while taking the photo. This will help you capture clear and professional product images.
Tip 6-7: Choose the Right Backdrop
The background of your product photo plays an important role in how customers see your product. A clean and simple background makes the product look more professional. Below are some useful tips to choose the right background for your product photos.
Tip 6: Use a White Background for Product Listings
A white background is the best choice for product listings because most online stores use it for their product images. It helps customers clearly see the product without any distractions. A white background also works well with almost every type of product and gives clean and professional look.
Tip 7: Choose the Background Based on the Purpose
A white background is a safe choice for product photography, but it is by no means compulsory. The background can also be used to complement the item that is being sold. For instance, a coffee mug shot on a kitchen counter as part of a picture would help the buyer envision using it and not distract from it as much.
If you are looking for a budget-friendly background option for your product photography needs, then the white background is the one that you should choose. It is even possible to use poster board, foam board, or other materials to make a background that will help the shot without making the item stand out unnaturally. The most important rule regarding backgrounds in product photography is to use simple backgrounds that do not distract from the item.
Tip 8: Edit Like a Pro (Without Overdoing It)
Editing is the last step in preparing your photos of products for your clients. Ensure you edit your images to enhance the overall quality of your work. Some of the most essential aspects of photo editing include improving the overall brightness, color correction, cropping the image, and deleting the background of your photographs.
Photo editing tools help you accomplish the task of removing the background and dealing with other aspects of image editing faster and more conveniently. Moreover, once you become proficient at using these tools you will be able to create beautiful product images with ease.
Tip 9-10: Avoid These Common Mistakes
If you have good lighting and a high quality camera but there are some common mistakes that still affect the appearance of your product listings. There are some useful tips that will help you avoid the most common mistakes when creating product listings.
Tip 9: Use Similar Angles and Sizing
If you use the same angles and sizes for your product it makes your photos look more professional. If one product is shown from the front then try to show the other products in the same way. And you can keep similar products at the same framing and image size so customers can easily compare them. This creates a better browsing experience and makes your product easier to understand.
Tip 10: Take Multiple Shots and Use High-Quality Images
Customers typically look at photos of any product they are interested in purchasing. This is why it is necessary to create high-resolution pictures of the item. Several photographs of an item need to be taken from different angles so that they appear clearly visible and understandable. In addition, it is essential to avoid blurry and unclear pictures that repel customers when they visit a website. Taking multiple shots allows customers to obtain detailed knowledge of them, which, in turn, answers many potential questions before purchasing anything.
Conclusion
Good product photography should not be that hard to achieve as long as one considers several aspects such as lighting, angles, backgrounds, settings, and editing among other factors. One should consider these aspects in product photography because they can assist in wooing their customers into buying their products.
You should review your current product photos to identify areas that need improvement. Even small adjustments can have a major impact on the quality of your product images, and ultimately how satisfied your customers are with their online purchases.
If you're looking to speed up your workflow and make photo editing easier, tools like BG Erasers can be used to remove backgrounds and make image preparation more efficient.